How To Get Rid Of Acrylic Nails Without Acetone
A Ballet of Acrylic Farewell without Acetone
Hello Nail Enthusiasts! 💅
Ready to make a graceful transition from your acrylic nails?
We've got the perfect solution for a gentle farewell without the strong smell of acetone. Let's embark on this step-by-step journey to reclaiming your natural nails.

Understanding Acetone and Acrylic Nails: A quick primer
While acetone is a common choice for removing acrylic nails, its strong odor and potential drying effects on the skin can be off-putting. Choosing an acetone-free removal method ensures a gentler approach, keeping your natural nails and surrounding skin healthier throughout the process.
Acetone works by breaking down the acrylic material, making it easier to remove. However, it can also strip natural oils from your nails and cuticles, leading to dryness and brittleness. Choosing alternative methods, as outlined above, allows for a more nourishing experience for your nails.
Step 1: Gather your tools
Before we say goodbye to your acrylic nails, make sure you have the right tools on hand:
- Nail clippers: To trim the length of your acrylic nails.
- Nail file: For shaping and smoothing the edges.
- Buffer: Gently removes shine from the acrylic surface.
- Cuticle Oil: A moisturizing hero for your natural nails.
Step 2: Trim the length
Use your nail clippers to trim the length of your acrylic nails as much as possible. This step minimizes the amount of material you'll have to remove later and makes the process easier on your natural nails.
Step 3: File away the shine
Take your nail file and gently file away the shiny top coat of your acrylic nails. This step will help break the seal and make it easier for the following removal techniques to penetrate the acrylic material.
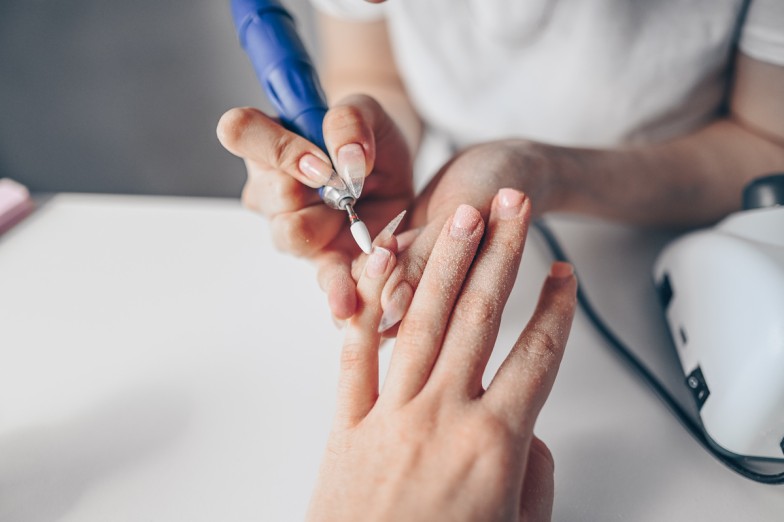
Step 4: Buff, buff, buff
Take your buffer and start buffing the surface of the acrylic nails. This will roughen the material, making it easier to remove. Be careful not to damage your natural nails.
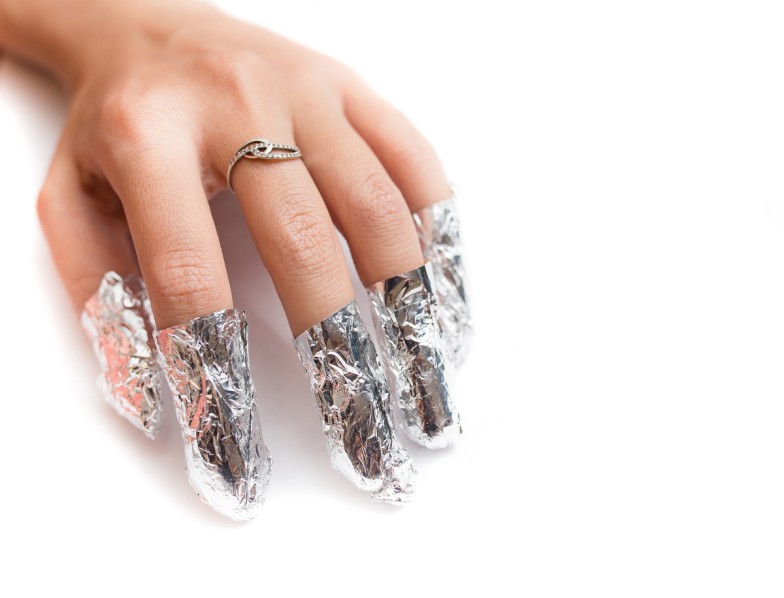
Step 5: Soak in warm, soapy water
Fill a bowl with warm soapy water. Soak your nails for 15-20 minutes. The heat will help soften the acrylic, making it more pliable for the next steps.
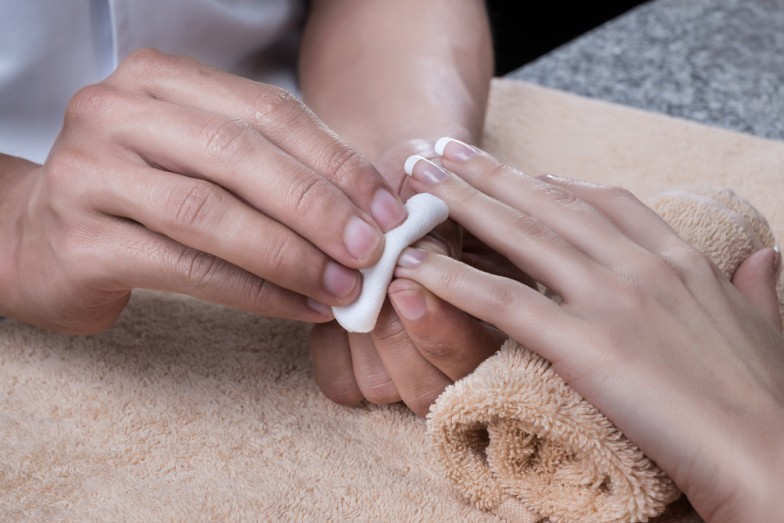
Step 6: Gentle exfoliation
After soaking, gently peel off the softened acrylic with a cuticle stick or wooden orange stick. Start at the edges and work towards the center to get it done. Be patient and avoid forcing the acrylic to avoid damage.
Step 7: Moisturize with cuticle oil
Once the acrylic is removed, treat your natural nails to some TLC. Apply a generous amount of cuticle oil to restore moisture and keep your nails healthy.
Step 8: Shape and polish
With your natural nails exposed, shape them to your liking with a nail file. If desired, apply a clear polish for a polished finish, or let them breathe and embrace their natural beauty.
Bonus Tips
- Take breaks between steps: If necessary, give your nails a break between steps to avoid overexposure.
- Be Patient: Rushing the process can cause nail damage. Patience is key!
Embrace the Natural Beauty and Explore More with Mobilestyles
And there you have it – a gentle, acetone-free journey to bid farewell to your acrylic nails. Treat your natural nails with care and let them shine in their unadorned beauty. Happy nail transformation!
Ready for more beauty adventures? Download the Mobilestyles app, where beauty meets convenience. Book your next nail transformation or explore a variety of beauty services at your fingertips!